Instagram Crumby Situation

Tuesday, March 26, 2013

Green Tea Cupcakes with Toasted Sesame Buttercream

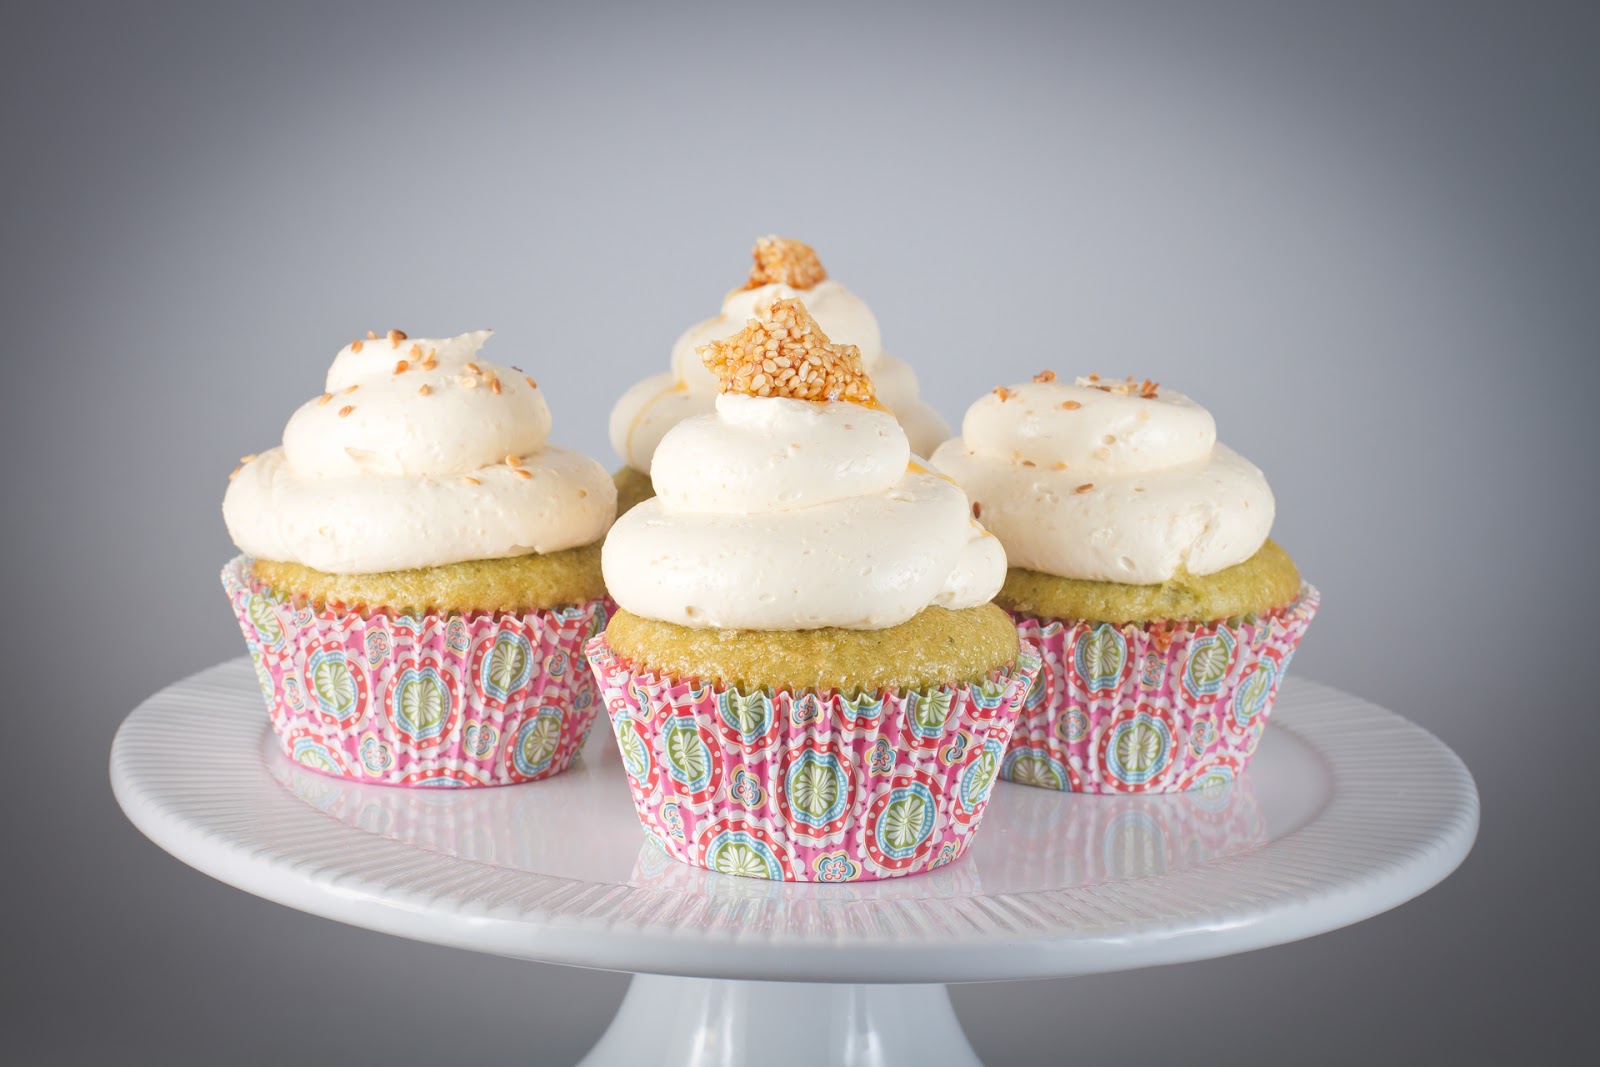
All photographs by TK Photography!  Aren't they beautiful??

Green Tea Cupcakes
  • Cake Flour: 1 3/4 C 
    • Spoon it into the cup and level off
  • Baking Powder: 1 3/4 t
  • Sugar, Granulated: 1 1/2 C 
  • Water: 1/3 C
  • Butter, Unsalted: 4 T 
    • Room Temperature 
    • Cut into 1 T pieces
  • Vanilla Extract: 2 t
  • Salt: 1/2 t
  • Canola Oil: 1/3 C
  • Egg, Yolks: 2
  • Egg, Whole: 2
  • Heavy Cream: 1/2 C 
  • Matcha Powder: 2 T
  • Water: 1/2 C
  • Tools: Stand Mixer, Small Sauce Pan, Medium Bowl, Whisk, Sifter, another medium bowl, cupcake pan, preheated oven to 350
Sift your flour and baking powder together into your mixing bowl and then mix together with a paddle attachment on medium low until combined, about 30 seconds.  Sift it back into a medium bowl.  Set aside.

In a small sauce pan, combine 1/2 C water and Match powder and cook on medium heat until reduced down to a paste.  Remove from heat and set aside.

Heat 1/3 C water to a simmer.  Combine it with the sugar in your now empty mixing bowl on medium-low speed for around 15 seconds.  Add your butter and mix until completely incorporated. Add your Vanilla
and your green tea paste and mix until combined.  Add the canola oil, and mix on medium until completely combined.

Remove your mixing bowl from your mixing stand.  Sift 1/3 of your flour mixture into your mixing bowl. Using a spatula, fold the flour until all it is just combined.  Repeat until all of the flour is incorporated.  Fold each egg yolk in, one at a time, followed by your two whole eggs.

In a medium bowl, whisk your heavy cream until it is just forming soft peaks.  I recommend doing this by hand.  It's a good arm work out, and it's really just too small of an amount to warrant mixing it in your bowl.  If you want to speed up the process, put your whisk and bowl into the freezer for 10-15 minutes before hand.

Fold 1/4 of your heavy cream into your batter, gently.  Fold in the remaining heavy cream.

Portion out your batter into each of your cupcake liners until each cup is about 2/3 full.  Bake in your preheated oven for approximately 7-8 minutes, then rotate the pan, and bake for another 7-8 minutes.  I can't emphasize enough how individual each oven is.  To test if your cupcakes are done, first, they will not look wet on top.  Shiny, yes.  Wet, no.  Press lightly on top of the cupcake.  If it springs back, it is done. If you want to be extra sure, use the ol' toothpick trick.  If it comes out clean, you're done.  Immediately remove your cupcakes from the pan and put on a cooling rack.  This recipe should make about 18 cupcakes, depending on the size of your liners/pan.

TK Photography


Toasted Sesame Buttercream
  • Butter, unsalted: 24 oz room temperature
  • Egg, Whites: 8 
    • Save your egg yolks in an air tight bag or container in your fridge for up to three days)
  • Cream of Tartar: Pinch 
    • Optional, but helpful
  • Sugar, Granulated: 2 C
  • Salt: 1/4 t
  • Vanilla Extract: 1 T
  • Sesame Oil: 1/8 t
  • Sesame Brittle (See Below)
  • Tools: Stand Mixer, Medium Sauce Pan, Candy Thermometer
Place your eggs and cream of tartar in a very clean mixing bowl with a whisk attachment.

Put 1/2 C of water, sugar and salt into a medium sauce pan.  Make sure all of your sugar is saturated with water (use our fingers or gently stir if it's just not happening on its own). Cook your sugar on medium heat.  When it starts to boil rapidly, place your candy thermometer in our sugar mixture and just watch it go up.  When your sugar hits 225, turn your mixer on medium-high and whip until it is anywhere between cappuccino foam and soft peaks (I've done both, and they both have worked equally well for me).  By this point, your sugar will have reached 240.  At 240, immediately remove your sugar from the heat and walk carefully to your mixer.  Turn your mixer to its highest speed and then VERY CAREFULLY, pour your sugar slowly and steadily (don't rest it on the side of the bowl), down the very edge of the bowl. Avoid hitting the whisk or your sugar will start roping around the side of your bowl.  There is a sweet spot that is the point in the bowl where you can pour your sugar away from the edge of the bowl without hitting the whisk.  Try and hit that point.

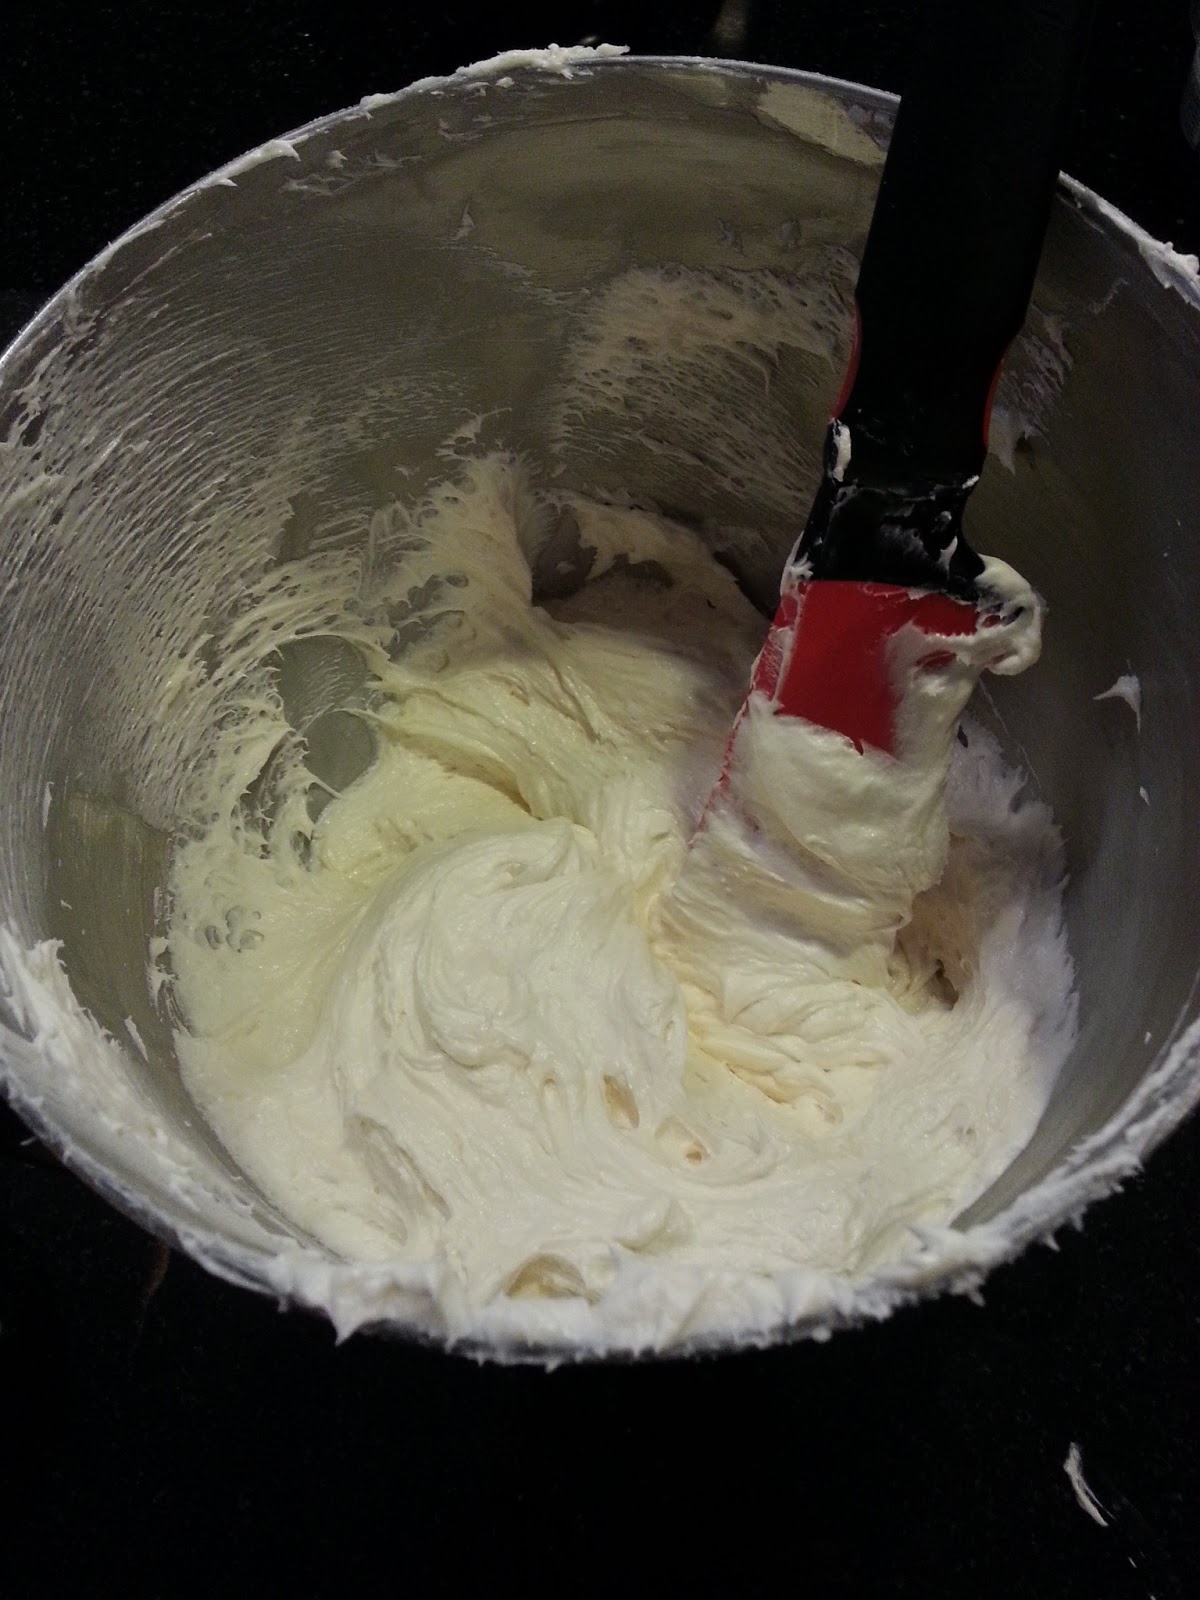
Whip your eggs/sugar (it's an Italian Meringue now) on high until the bowl is just warm to the touch.  Keeping the mixer on high, add your butter 4 oz, or half a stick, at a time, until completely incorporated.  At this point, you can stop the mixer to scrape down the sides to get rid of any extra butter or unincorporated meringue that's hanging out.  Turn your mixer back on high and mix until it is soft and fluffy like Cool Whip.  The rule of the thumb I always go by is that when I think it's done, I whip it another ten minutes.  This buttercream should be very light, so whip it like it's paying you.  At the end of this process, at your vanilla and your sesame oil and whip until completely incorporated.

Take your mixing bowl off of your mixer and gently fold in your pulverized Sesame Brittle until consistent throughout.
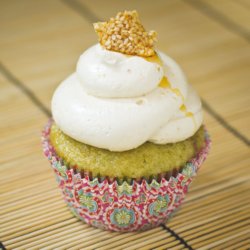
 
TK Photography


Sesame Brittle
  • Sugar,Granulated: 3/4 C
  • Sesame Seeds, White: 1/2 C 
    • Toasted 
      • Put them on a parchment lined baking sheet at 325 until golden brown
  • Sea Salt: 1/4 t
  • Tools: Small Sauce Pan, Baking Sheet lined with parchment or silicon sheet.
Add 1/3 C of water and sugar to a small sauce pan.  Make sure all of your sugar is saturated with water (use our fingers or gently stir if it's just not happening on its own).  Cook your sugar on medium heat until it starts turning amber around the edges. Swirl GENTLY! (good God, I cannot emphasize gently enough) to get a consistent caramel color.  If you're using your candy thermometers, it will register around 320.

Remove your pan from the heat and quickly stir in your toasted sesame seeds and your salt.  Immediately pour your mixture onto your baking sheet and let it sit until it is completely cool.

Break your brittle up into several smaller pieces and place into your food processor.  Turn that baby on and let it run until your sesame is a grainy powder, more coarse than a rough corn meal.  You can store this for quite a while (about a week), but only if you keep it in a very dry, air tight container in a cool area.  If you don't have a food processor, or you're just wound a little tight, double bag your brittle in two seal-able large sandwich bags and beat it's will to be whole out of it with a rolling pin.  It'll work on a couple of levels, I assure you.

TK Photography


Now Try This!
Save some of your sesame brittle to use as a garnish, or use more toasted sesame seeds.

Recipes adapted from recipes from Bakewise by Shirley O. Corriher and Les Petits Macarons: Colorful French Confections to Make at Home by Go (Google Affiliate Ad)\


All photographs by TK Photography.

Monday, March 18, 2013

Blueberry Cream Scones and Lemon Curd

Blueberry Scones and Lemon Curd, photos by TK Photography
I was walking to work the other day, and I stopped in a coffee shop on my way and got a latte and one of the blueberry scones they had wrapped up on their counter.  They looked homemade, and cuss it, I love a good scone.  I walked and ate and drank and this thing was....well, it was sad.  It was dry and tasteless and pale.  I ate the whole thing, of course, because I'm me and I do that, but I didn't want to!

My mission was clear.  My itch had not been scratched.  So I took to my (friends, with the convection oven and cable in their) kitchen to get my scone fix.   Of course, a scone without anything on it is almost like a crime against God and nature, so I decided that a good, buttery lemon curd would do the trick.  I love citrus, and there are few things that cut the acidity of the lemon better than the sweetness of a blueberry.  Because this is something you generally eat for breakfast as opposed to a dessert, I decided on a curd recipe with slightly more butter than our average curd.

I hope you love it!

Blueberry Cream Scones
  • AP Flour: 2 C
  • Granulated Sugar: 1/3 C
  • Baking Powder: 1 T
  • Table Salt: 1/2 t
  • Heavy Cream: 1 1/2 C, plus a little more for brushing the tops of your scones
  • Frozen Wild Blueberries:
  • Tools: Medium bowl, sifter, preheat oven to 400 
Sift together your flour, sugar, baking powder and salt in your medium bowl.  Very, very gently, toss your blueberries into your flour mixture.  If you are too rough, they will burst, your scones will turn weird blue and you'll be sad all day.

Make a well in your dry ingredients, and pour in 1 1/4 C of your cream.  Mix VERY gently until a rough looking dough has formed.  If it still seems too dry, add cream a tablespoon at a time.  I ended up using almost an extra quarter cup.  Divide into eight different pieces and place onto your lined baking sheet, giving each scone about 2" on each side to grow.  They will be difficult to portion out perfectly because the dough is very sticky.  Wet your hands and gently form each scone into an evenly shaped ball.   This will make it easier because the water will keep the dough from sticking to you.  Brush each scone generously with cream.  I also sprinkled each scone with a little Turbinado Sugar (Sugar in the Raw) to give them a little extra crunch and a little, well, zazz.

Put them in your 400 degree oven and bake until GBD (golden brown and delicious...see, Rachel Ray, I can do it, too!), about 15 minutes.  I've said it before, and I'll say it, again: each oven is different. When these are done you should be able to pick them up off of the baking sheet without them crumbling at all, but they should still be tender to the touch.   You'll probably want to take them out while the "cracks" in the top are still a little pale.  Let them get a little more color than you probably would prefer to.  They'll taste better that way, trust me. Keep an eye on them and use your best judgement.  

TK Photography


Lemon Curd 
  • Eggs,Whole: 3
  • Lemon Zest: One Lemon
  • Lemon Juice: 1/2 C 
    • Fresh is always best, and that's about 3 lemons
  • Sugar, Granulated: 1/2 C
  • Butter, Unsalted: 6 T 
    • Cut into 1 T pieces
Put your butter in a medium bowl and keep your strainer nearby.  Set aside.

In a small sauce pan, whisk the eggs thoroughly.  Add your lemon zest, juice and sugar and whisk until completely combined.  Cook on medium heat, constantly whisking (don't forget the edges and corners, y'all), until your curd is thickened and bubbling along the edges. Don't get crazy waiting for this to boil.  Two or three bubbles is really all you need.  The longer it cooks, the more egg-y stuff will end up in your strainer.  Wait to see just a couple lava bubbles along the edge and remove from heat.

Immediately pour your curd through the strainer onto your butter mixture, stirring a little to get the bound of curd through.  Scrape the underside of our strainer as well, because some of your curd will be clinging for dear life to it, but it still needs to get eaten.  Let this sit for about a minute, and then whisk until your butter is completely combined into your curd.  Refrigerate for up to a week.

TK Photography


Now Try This!
You can leave out the blueberries if you just want some good old fashioned scone action.  Also, try some clotted cream with your lemon curd.  It's decadent and delicious!  Don't be afraid to substitute ingredients for the blueberries.  Crystallized ginger (1/4-1/2 C depending on how into ginger you are) makes an excellent mix-in, and is especially good when you sift in about 1/2t of powdered ginger with our flour.  You could also substitute key lime juice (regular lime juice will be really tart) or meyer lemon juice in the curd if you wanted to make things interesting.

TK Photography


Recipes adapted from The Essential New York Times Cookbook: Classic Recipes for a New Centu (Google Affiliate Ad) and Sinfully Easy Delicious Desserts by Alice Medrich.

Photographs by the incredibly talented TK Photography.

Wednesday, March 13, 2013

Irish Car Bomb Cupcakes


It's St. Patrick's day!  Even though I'm not Irish (I've dated one, though, so that kind of counts), I can still party with the best of them.  Especially when it comes to turning tasty drinks into tasty sweets!  I hope you enjoy this super dark, no-too-sweet stout-y chocolate cakes and the delicious Irish Cream flavored cream cheese frosting.  Give one to someone Irish, and then use it as an excuse to either kiss them....or to not kiss them.

Irish Car Bomb Cupcakes


Super Dark Chocolate Stout Cupcakes

  • Sugar, Granulated: 2 1/3C
  • Salt: 3/4t
  • Cocoa Powder: 3/4 C
  • Baking Soda: 1 t
  • Stout Beer: 1 C
  • Canola Oil: 3/4 C
  • Vanilla Extract: 2 t
  • Flour, All Purpose: 1 3/4 C
  • Egg, yolks: 4
  • Egg, whole: 2
  • Buttermilk: 1/4 C

Pour your beer into a small sauce pan and bring it to a boil.  In a slightly larger sauce pan, whisk together your cocoa powder, baking soda, sugar and salt, thoroughly.  When your beer has started to boil, remove it from the heat and start to whisk into your cocoa powder/sugar mixture slowly.  When everything is completely combined, turn the heat back on your range and bring that mixture to a boil, whisking occasionally (remember to get into the corners!).  After your mixture has started to boil, remove from the heat and let it sit for at least ten minutes.  This is important, because if it's too hot, it will cook your eggs before they get cooking into the cake and that's not fun to eat.

Pour your beer/chocolate/sugar mixture into your mixture, turn mixture onto low, and then drizzle in your oil and vanilla.  Mix on low for 30 seconds to a minute to completely combine.  Sift in your AP flour and mix on low for 30 seconds, or less, just until most of the flour is moistened.  Take the bowl off the mixer and fold in the rest of the flour with a spatula.  Add your buttermilk and eggs and fold them in gently, but thoroughly.

Your batter should be VERY shiny and a little more sticky than normal cake batter.

Fill your cupcake liners about 3/4 full, and bake at 350 for 20-25 minutes.  Flip them around once during baking (be gently so they don't collapse).  To make sure they're done, press lightly on top.  When they are no longer wet and spring back after your touch, they are done.  Let them cool completely on a cooling rack before icing them.


Bailey's Cream Cheese Frosting

  • Cream Cheese: 1 lbs
    • At room temperature
  • Butter, Unsalted: 1/ lbs
    • At room temperature
  • Powdered Sugar: 1 1/2 C 
    • Sifted, twice
  • Vanilla Extract: 1t
  • Irish Cream Liqeur: 1/2 C
Combine your cream cheese and butter in your mixing bowl with a paddle attachment.  Turn on medium speed for two minutes.  Scrape down the sides to make sure everything is getting incorporated.

Place half of your powdered sugar into your mixing bowl and turn on low speed until it's generally moistened.  Place the rest of the powdered sugar and, again, turn on low speed until completely incorporated.  Do not, I repeated, DO NOT, put all of your powdered sugar in at once.  It will come flying out of that mixer and it will cover you.  You will not be happy.  Trust me.  When you have all of your powdered sugar in your mixing bowl, and it's all moistened, turn your mixer onto medium-high and beat for around three minutes.  About halfway through your mixing, add your vanilla extract and your Irish Cream.  Taste your buttercream and adjust the Irish Cream amount as you see fit.  You may want a little more, as the cream cheese has a tendency to make other flavors fall by the wayside.


Decorate as you see fit.  In all seriousness, I used a 4oz ice cream scooper and a baby food spoon with Dora the Explorer on it to do this.  You can turn anything into a decorating tool.  Enjoy, everyone!


Now try this!
Dust your cupcakes with a little cocoa powder, or a coffee or stout beer based caramel sauce!


Recipes have been adapted from Bakewise by Shirley Corriher and Ad Hoc at Home by Thomas Keller.